Wednesday, November 23, 2011

An Inspiring Craft Table


I've been wanting a desk for my crafts that would also be big enough for sewing. I found this big desk below at a Thrift Store and bought it for $10. It was kind of an eye sore and not at all inspiring but I had plans for it :)


It had been siting in my guest/craft room for about a month and today I finally had the time to work on it.

So I started with two coats of Primer. I usually don't sand because the Primer pretty much does the job. I used this one:


Here's the work in progress: 


As you can see, when you add the first coat of primer, it doesn't look good at all. But after the second coat you start getting an even color.

After adding two coats of primer with a roller brush, I added one coat of white paint with a regular paint brush  as well as painted the handles with Aqua Pearl paint medium by Martha Stewart.


I then applied a top coat to protect the finish and that's it! In less than 3 hours I got myself a pretty Inspiring craft table!!  :)


Can't wait to start crafting!

xoxo


Monday, November 21, 2011

DIY STAR TREE TOPPER Explained


Okay, so a lot of you have been requesting instructions on the Star Tree Topper. So this evening I sat down, and not only took lots of pictures of the process but also created new ready to print templates for you guys. 

So here you go.


  Materials you will need: 

- Cardstock Paper
- Hot glue gun
- Scissors 
- Color Printer
- Glitter Spray (Optional)

Instructions: 

Step 1 - Start by downloading the templates for the tips of your star. You can download the blank template if you want to add your own pattern on them using Photoshop or if you want to print in a decorative cardstock paper, or you can download the ready to print templates with patterns on them if you have a color printer.


Step 2 - Print your templates on cardstock paper. You will need 5 of them for the tips of the star. 


Step 3 - Cut and fold the templates. You will cut them on the straight lines and fold on the dotted lines. 


Step 4 - Glue the sides of the tips creating a cone shape. 


You will end up with 5 cones like these. 


Step 5 - This is the most tricky part. At the bottom of your cones, you will see the folded edges which you will need to attach to the edges of the other tip with the hot glue. You will glue the bottom right side of a tip to the bottom left side of the other. You will end up with something like this: 


Do the same with all of them until you have all 5 tips glued together. You can leave a hole at the bottom where you will attach to the tree, by not glueing the sides together (like the one in the picture below). But if you want a closed star, just press the middle down to flatten the star a bit, so that the bottom sides meet and you can glue them to each other. 


And that is it!! You are done making your star!

I added some Glitter Spray to mine to make it shiny. You can also poke holes in them and add lights inside. 


I hope this was helpful. If you make one, I would love to see pictures! 

xoxo


Friday, November 18, 2011

Thrifty Gift Ideas

Trying to be thrifty this Christmas? How about some cute ideas under $50 that I'm pretty sure any girl will love! 


GUESS logo bag, $48
Slap water resistant watch, $18
Owl umbrella, $30
Purple shawl, £16
Nail Polish, $13
Grand Old Timey Wall Calendar in Bienvenue | Mod Retro Vintage Wall..., $22

Happy shopping!

xoxo

Friday, October 21, 2011

DIY PRETTY KNIFE BLOCK SET

Not long ago I discovered the Mod Podge. And I don't know how I was living my life before that without it. You can pretty much turn anything from plain to beautiful with Mod Podge. Well, I decided to make over my knife block set. 

It went from plain:

To Pretty: 


And it really only took me about 1 and a half hours.

I actually got the idea of making over my knife block set from Pinterest. I had seen someone there who had painted theirs green. But I had a different idea. 

Here's what I used:

- Mod Podge in Gloss
- Decorative Paper 
- A paint brush
- Scissors
- Utility knife or stencil knife


So this was pretty straight forward. Mod Podge went on first with a brush. Then I pasted the paper, smoothing over and cutting the excess with the knife. Then I brushed Mod Podge over it to seal the paper on the wood. 


As you can see, depending on the shape of your knife holder, you might need to work with some tricky areas. But just be patient and do them in sections. After you brush the Mod Podge on the paper, it will look seamless. 


Then I just felt for the openings through the paper with my fingers and stuck the knifes in them :)

And there you have it, a fun looking knife block set!


I hope you try it and I hope I get to see your after pictures!!

xoxo


Thursday, October 20, 2011

WINDOW SHOPPING: Impact Thrift Hatboro


As some of you know already I live in an apartment and the problem of apartment living is lack of space. This is one of the reasons I don't do as many furniture make overs as I wish I could, simply because I have almost no room left for more furniture in my apartment, nor the place to work on them. However, I keep on seeing furnitures and objects at the consignment store my husband works at (Impact Thrift) that I wish I could bring home. So instead of bringing them home, I decided to at least take pictures of them and share these gems with you guys so that maybe someone who lives close by might find a home for them :) 

So here are this week's finds: 
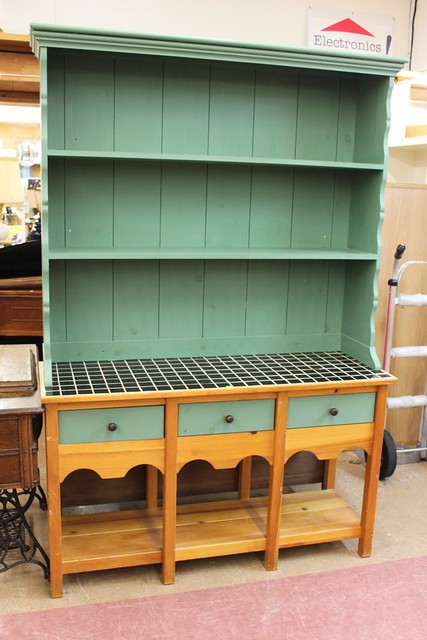
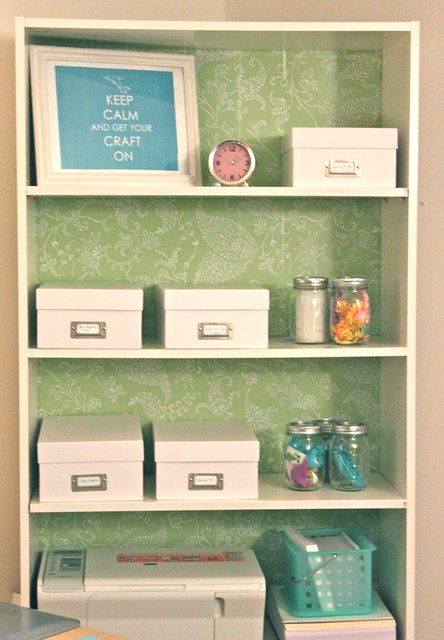
Green Hutch


I'm not sure how I feel about this hutch. I feel like it has a lot of potential and something about it is so adorable, but at the same time, these black tiles just don't go with that green paint. If I were to buy it, I'd probably paint the wood part white, leave the current green and change the tiles. 
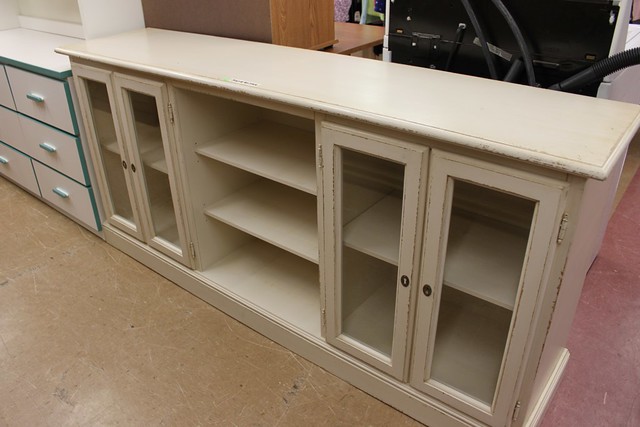
Adorable TV Stand


This stand does not need any make over! It's SO adorable! I fell in love as soon as I saw it! There are keys that come with it so you can open the glass doors too. I really want it but I'm not sure where I would put it in my apartment. This is the only thing I'm currently contemplating bringing home.
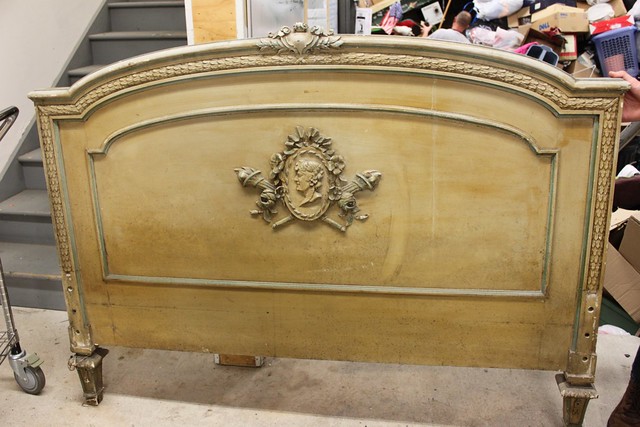
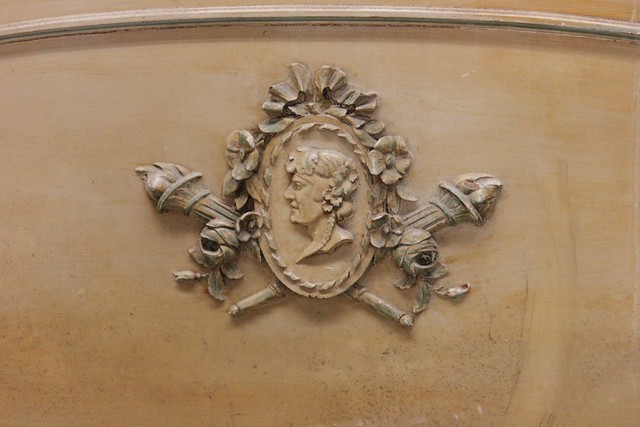
Vintage Headboard


My husband said this headboard was appraised and could be from as early as the 1920's. I love the vintage look! Now the creepy old lady on the emblem? Not so crazy about her, but hey, adds characteristic. I still think it looks very charming and elegant though.
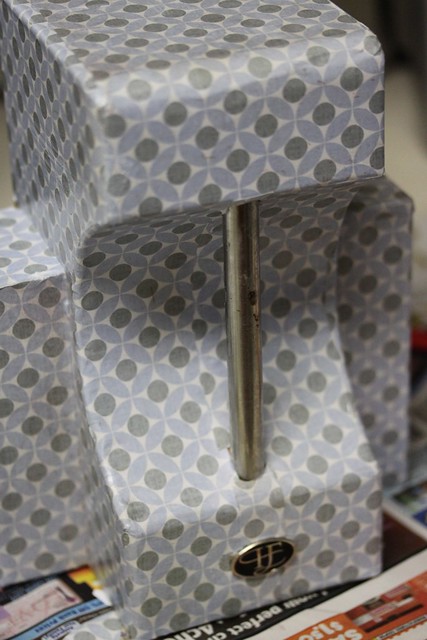
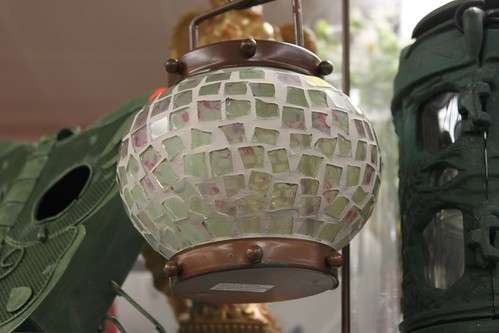
Mosaic Lantern


Love the look, especially on a porch or garden. I'd probably spray paint the metal piece white though.
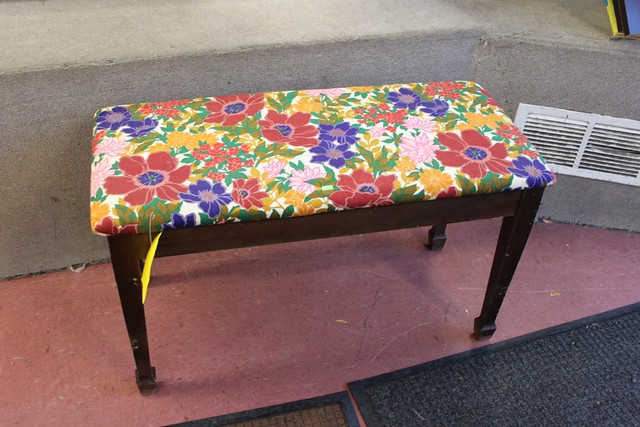
Cute Piano Bench


This guy could use a new paint color and new fabric, but it's only 10 bucks!
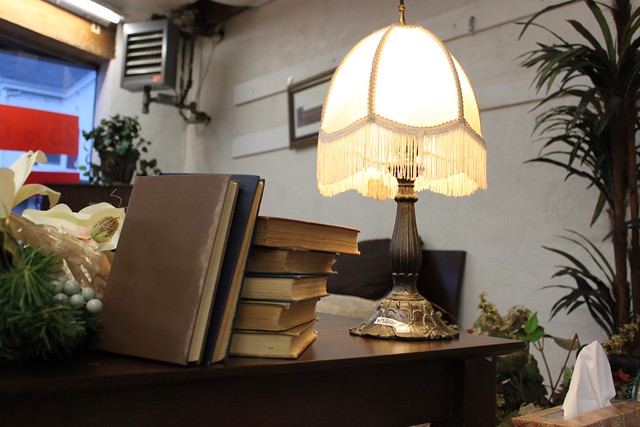
Vintage Lamp


Love the look of this lamp with the fringes and the old books. So "Withering Heights" :)
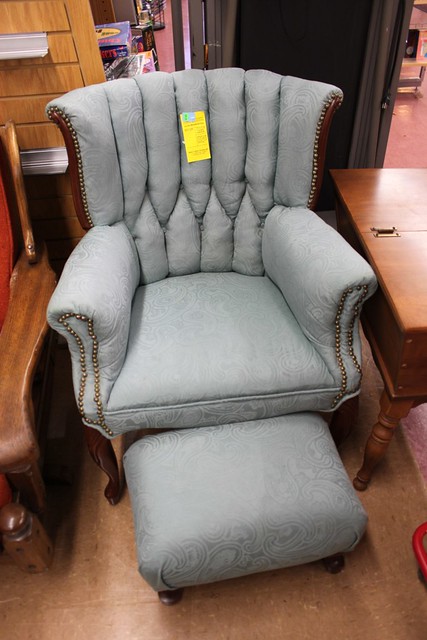
Comfy Pretty Chair


This too wouldn't even need a make over. Maybe just some cleaning. It looks very nice the way it is right now. 

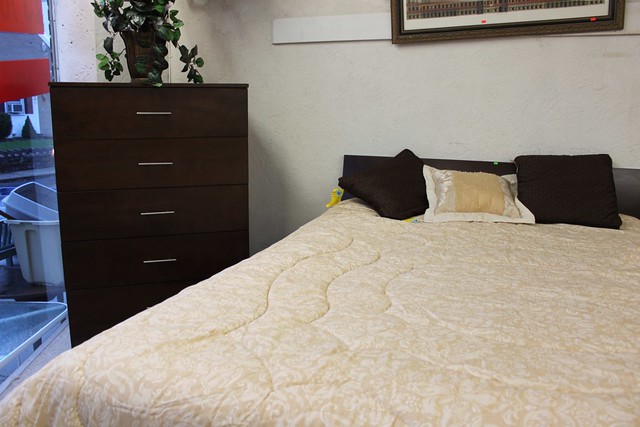
So anyway, these are some of my finds this week. It's amazing how many beautiful things you can find at consignment shops, not only this one. Especially if you are into vintage style. But even if you are not, they have some newer looking stuff too, like this bedroom set: 


So this was my window shopping for this week. These were all there yesterday so if you live nearby you might be able to grab one of them. 

I just can't wait until I have a house and lots of room for furniture make over! :)

xoxo
**Update: I bought the pretty TV stand!! Yay!!**

Friday, October 14, 2011

TIME FOR A MAKE OVER

So a couple of weeks ago I had told you about a handmade grandfather's clock that I had bought at my husband's thrift store for less than 5 bucks. 

Yesterday I finally decided to do something with it and I think I'm pretty happy with the results. 

Here's the before picture of the clock, with the tags still on:


And here is the after...Ta-da!! 


I had to photoshop a pretty wallpaper on the background since my apartment doesn't really have a wall big enough and pretty enough to "showcase" my creation ;)

Here is a close-up: 


It took me one bottle of sample paint by Martha Stewart, a paint brush, a sand paper, printed patterns and Mod Podge to make this happen. Not bad for less than 10 bucks, huh? I think it would look great in a Nursery or children's room. The inside of the bottom cabinet actually had children's drawings in it :)

Now, if you will excuse me, I have to go clean up all the mess this makeover left behind!

xoxo


Sunday, October 9, 2011

GETTING ORGANIZED


Thanks to an old bookshelf I was about to throw away, I now have all my crafts organized!

I saw potential on it and decided to use the leftover paint I had used on my hutch makeover. I primed it, painted it and added a background with contact paper. 

It went from plain and boring....


To pretty and functional:


I used a contact paper I bought at Target on the background, which cost about $5. The white boxes and glass jars were purchased at ACMoore Crafts and total for them was about $20. The frame was something I had laying around. I painted it white and printed that "Keep Calm" picture from my computer. 

So the total cost for this project was $25 and I'm pretty happy with it!! SO much for an old bookshelf :)

Now I finally have a nice, organized area where I can "keep calm and get my craft on". 


xoxo